How To Configure Windows 10 Devices
Introduction
When your VPN Server was created, an OPENVPN configuration file was also created. This file contains everything you need to connect to your VPN server and needs to be moved into the OPEN VPN CONNECT application on your Windows 10 computer.
Download The Configuration File
- Log into your VPN SERVER management screen on this site
- On that screen you will see a button called DOWNLOAD FILE or DOWNLOAD CONFIGURATION FILE. Assuming this is your first VPN server with us, there should only be one instance of this button.
- Clicking on it will download the file to your default download location (DOWNLOADS folder or DESKTOP) or might open a FILE DIALOG window to allow you to choose where to download the file. Just make sure that you know where the file is being placed on your desktop or laptop.
- Note: The file will have an extension of OPVN. The name of the file should include your first and last name.
- Please remember where you placed this file – you will need it later. First we have to get the OPENVPN client installed on your Windows 10 computer.
Installing the OPENVPN CLIENT CONNECT Application
Before you can do anything with the OPENVPN configuration file you’ll need to install the OPENVPN CONNECT client application.
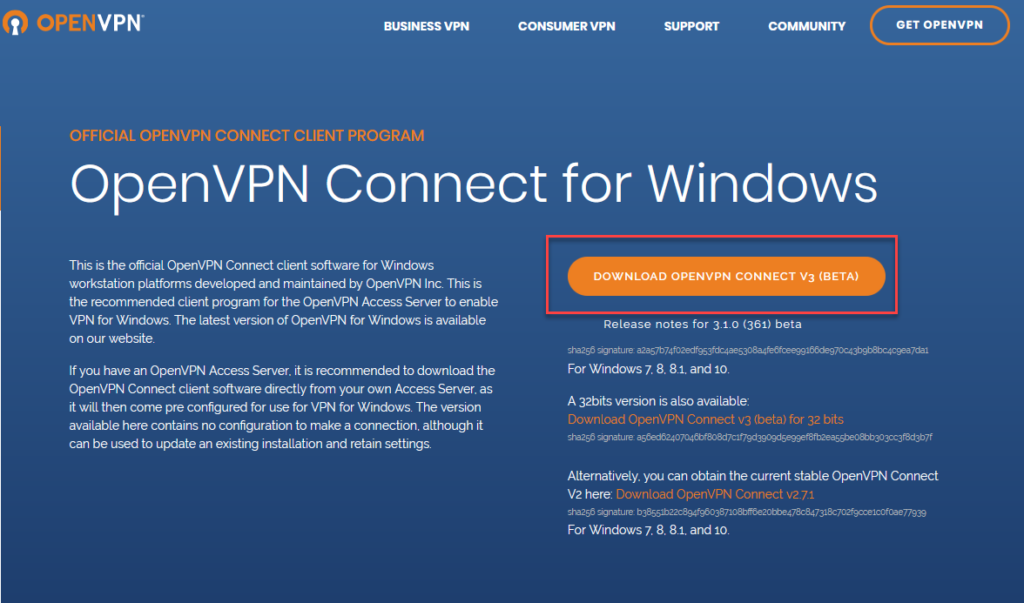
You can download the application from this link: OPEN VPN CONNECT CLIENT
Click on the DOWNLOAD OPENVPN CONNECT link (usually an orange button).
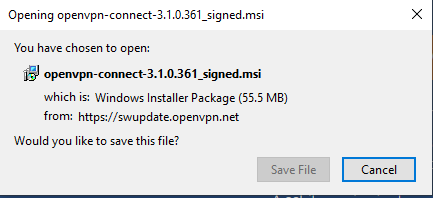
Depending on which browser you are using, the download might happen in the background and end up in your DOWNLOADS FOLDER or you might get a dialog box asking you to confirm the download. Here’s an example of what that might look like:
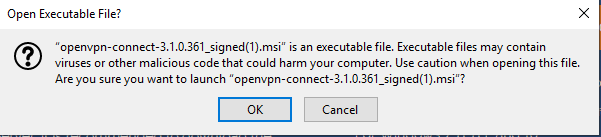
After the file has been downloaded, locate it on your computer and double-click on it to run it. Depending on how your computer and virus scanners are configured you may then get a warning like this – just click OK.
You will then get a full screen UAC prompt asking you to confirm that its ok to run the installation program. Just confirm that its ok and the program and the installation will start.
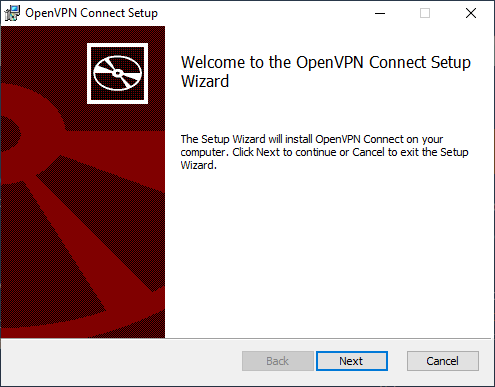
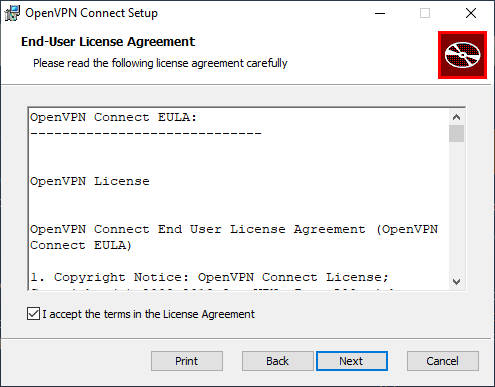
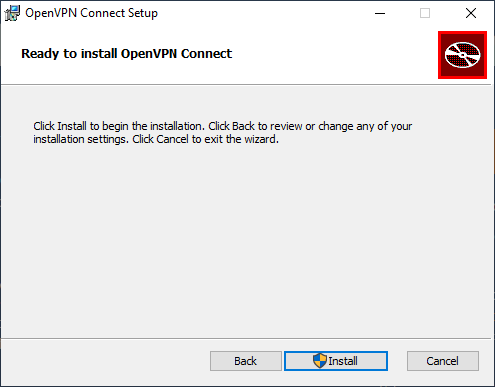
Once the installation has started, you’ll see a series of prompts that look similar to the following sequence – just keep clicking the NEXT button at the bottom of each one until the installation completes.
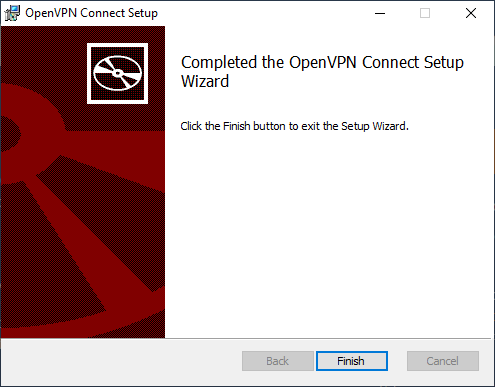
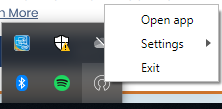
At this point, the installation is complete and the OPENVPN client is running in your task bar on the lower right hand side of the screen:
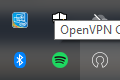
Right click on the application and select OPEN APP from the pop-up menu:
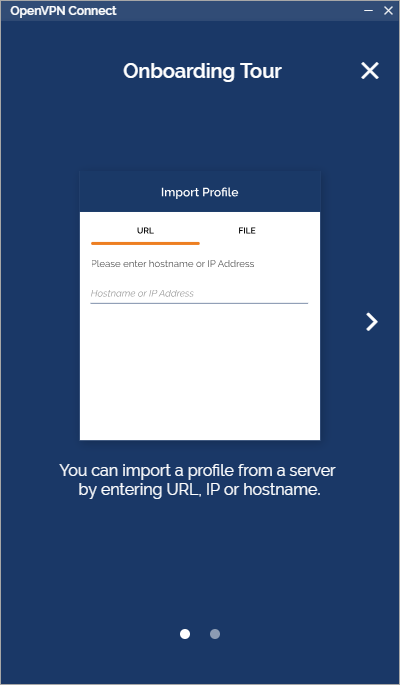
You will then see an ONBOARDING screen that looks like this – you can just click the “X” to make it go away.
Now you’ll see the terms and conditions screen – click the orange AGREE button to continue:

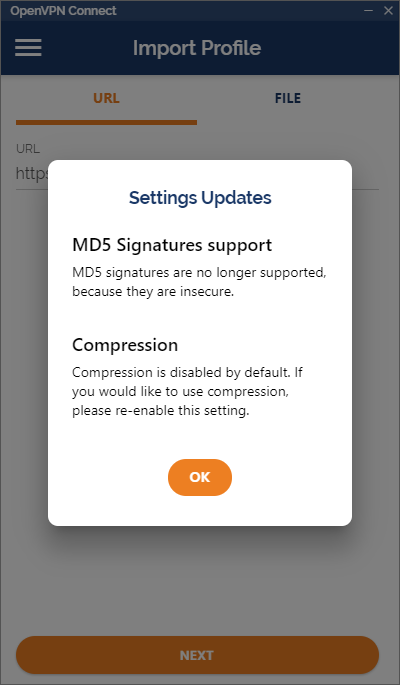
You can click away a SETTINGS UPDATE screen if that shows up:
Finally, you’re on the MAIN application screen – whew – it took us a while to get here:
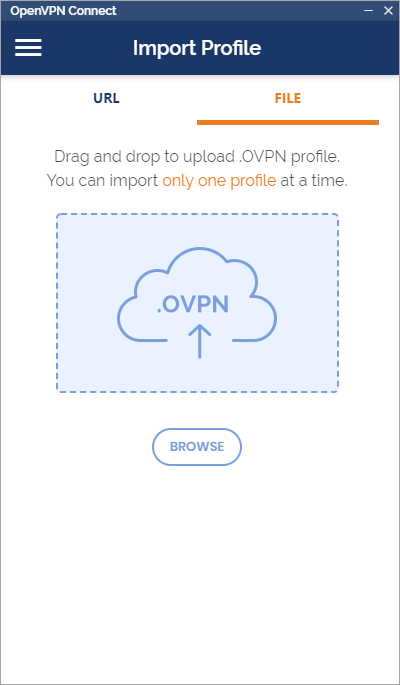
Click the BROWSE button to bring up a file dialog. You’re looking for the file you downloaded from our site at the very start of this process – the one with the OPVN extension and will likely start with your first and last name.
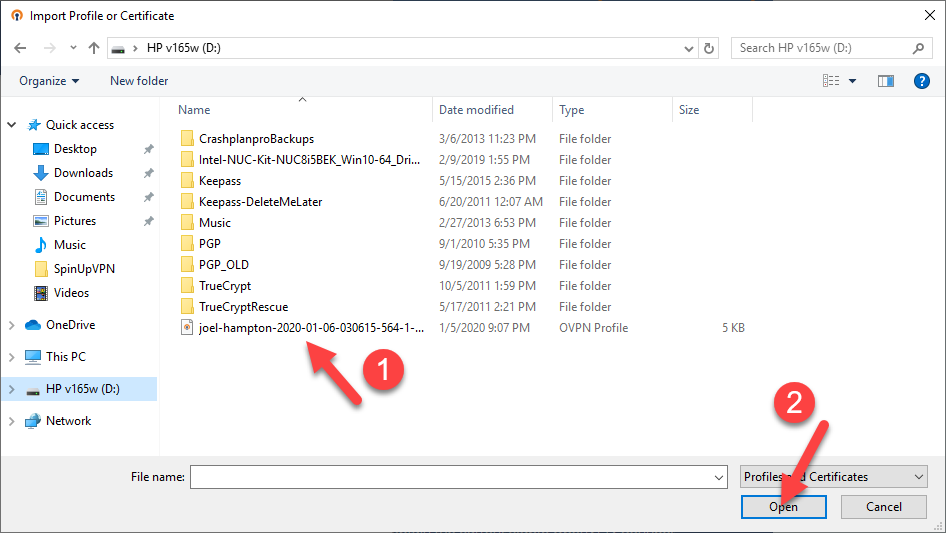
Click on the file name and then click on the OPEN button. This will bring you back to the OPENVPN CONNECT screen:
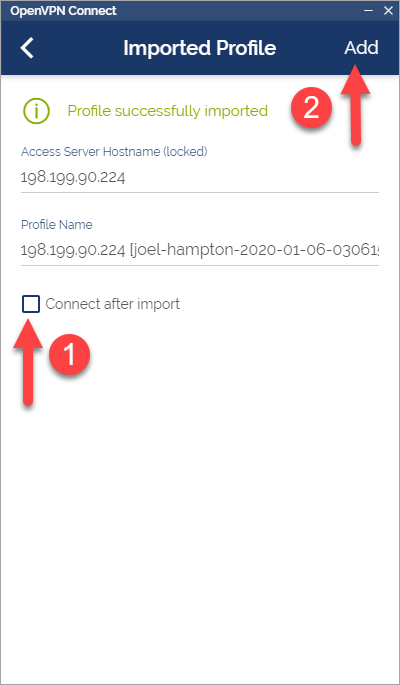
On this screen you can click the CONNECT AFTER IMPORT box and then click on the add link.
You should now be connected to your VPN server and see a screen that looks like this:

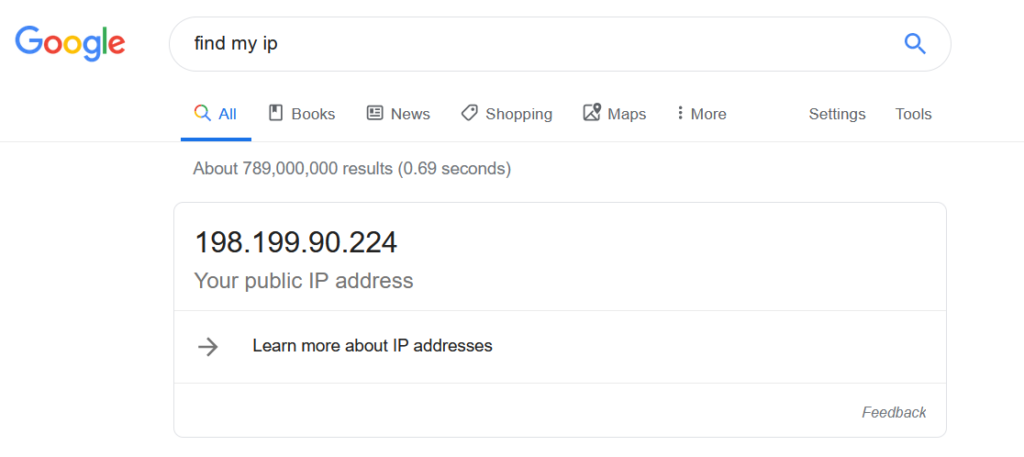
Verify that you have a different IP address that matches your server by going to Google and typing in “FIND MY IP” in the search box. If all is well, Google will show you a screen that shows your public IP address.
Congratulations – you’ve successfully connected to your own private VPN server!